Every winter it’s the same story. You crank up the heating, wait for the warmth to kick in, and somehow still end up wearing a hoodie indoors and wondering if something is wrong with your place.
Chances are, your heating isn’t the problem. The insulation behind your walls, above your ceiling, or under your floors has likely stopped doing its job, and it’s been costing you money every month.
Luckily, fixing it is usually easier than you think, and it starts right here.
Top up Thin Coverage in the Attic
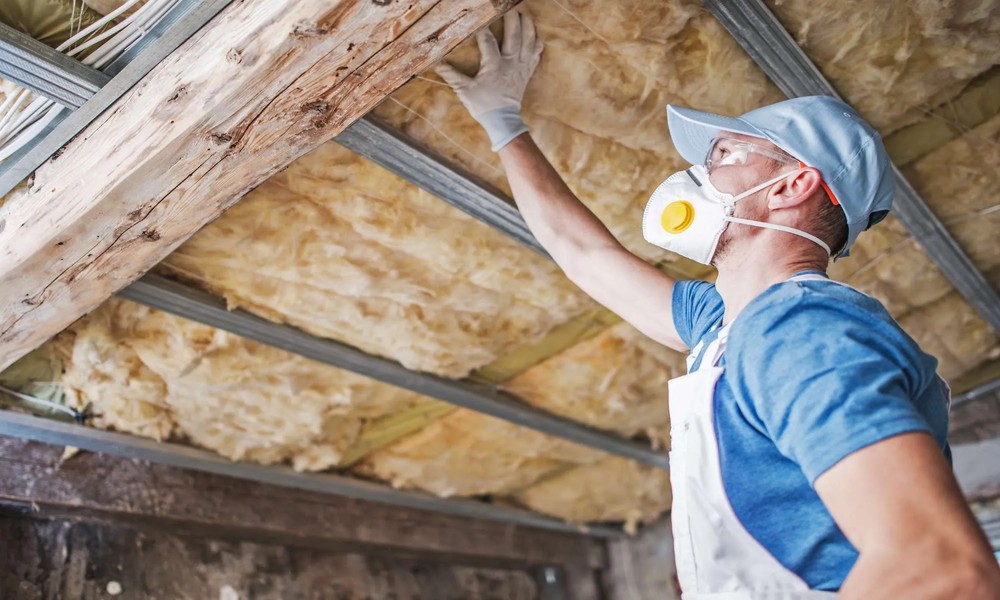
The attic is where most homes haemorrhage heat, so it’s the best place to start. Warm air rises, and if your attic insulation is patchy or too thin, that warmth is essentially booking a one-way trip outside.
In the UK, the recommended depth for loft insulation is around 270 mm. If what you see up there looks more like a light dusting than a proper blanket, it’s time for a top-up.
Mineral wool rolls are a common, DIY-friendly choice. Just lay the new rolls perpendicular to the existing layer so they cover the gaps.
While you’re up there, take a minute to look at the condition of the material. Insulation only works when it’s fluffy enough to trap air. If parts of it are compacted, flattened, or look a bit sad and matted, they’re not doing much anymore.
Swap those sections out so the layer can actually hold onto heat instead of letting it slip away.
Seal Air Leaks Inside the Walls
Once the attic is sorted, it’s time to tackle the walls, specifically the sneaky gaps around electrical sockets, light switches, and pipe openings on exterior-facing walls. Those spots are basically VIP entrances for cold draughts.
A gap the size of a 10p coin can let in the same amount of cold air as leaving a window slightly open. It doesn’t look like much, but your heating system definitely works overtime to compensate for this.
The fix is usually simple: use expanding foam for larger gaps, and run acoustic sealant around outlet boxes to close off the smaller ones.
While you’re at it, check where the wall meets the floor or ceiling. Exterior walls often have tiny gaps along the skirting boards that let cold air creep in all winter. Adding a bead of caulk along those edges can tighten things up surprisingly well.
Dry Damp Materials in the Basement
Basements have a special talent for holding onto moisture like it’s part of the décor. The problem is that damp insulation is basically useless. Once it gets wet, it loses most of its ability to trap heat, and if it stays that way, mould usually isn’t far behind.
Before installing or replacing anything down here, address the source of any moisture first. Run a dehumidifier for a few days, and check that water isn’t collecting around the base of the house outside.
Once things are dry, rigid foam boards are the go-to choice for basement walls, since they resist moisture far better than fibreglass batts.
If you already spot signs of mould, don’t try to push through it. This is one of those situations where calling in specialist cleaning services is the smarter move. Professional cleaners can safely deal with the mould before you insulate over the problem and lock it in.
Secure Sagging Batts in Crawl Spaces
Crawl spaces are cramped, dusty, and possibly home to several generations of spiders. Unfortunately, it’s also a place where insulation batts tend to sag. Once they drop away from the subfloor above, they stop doing their job entirely.
Use wire rods or insulation supports (sometimes called ‘tiger teeth’) to hold batts firmly against the underside of the floor joists. The insulation should sit snugly upward, with the vapour barrier facing down toward the ground.
While you’re down there, check for any gaps where pipes or cables pass through the subfloor. Those little openings are perfect pathways for cold air.
A bit of spray foam around those openings will stop cold air from rising straight into your living space. Trust us, you’ll feel the difference, especially in winter.
Protect Your Garage from Temperature Swings
If your insulated garage shares a wall with a bedroom, kitchen, or living room, it can act like an oven in summer and a giant cold pack pressing against your home all winter.
Start with the shared wall between your garage and the house’s interior. Rigid foam boards or insulated plasterboard work well here and are straightforward to install.
You should also insulate the door itself using insulated panels, which clip into most standard roller or up-and-over doors.
Just don’t go overboard trying to insulate the entire space unless you actively use it as a workshop or gym. Your goal here is simply to stop it from dragging down the temperature of the adjoining rooms, not to turn it into a spa.
Clear Debris Around the Roof and Ceiling Cavities
Finally, head back up, but this time, focus on the roof junctions, extensions, bay windows, and flat-roofed additions. These areas are easy to forget and often left with compressed, displaced, or missing insulation.
Remove any debris, old storage boxes, or accumulated grime. Once the area is clear, you can check whether the insulation underneath is doing its job or just lying there looking decorative.
Be careful around the eaves. If you push the insulation too tightly against the roofline, you can block ventilation-a common mistake that leads to condensation and rot. Instead, use ventilation trays if you’re adding new material near the roofline.
And while you’re up there, check the ceiling hatch too. Even if the loft itself is well insulated, a hatch that leaks draughts can undo a lot of that effort.
You can fix it in about twenty minutes with a draught-proof hatch kit. Fit one, seal the edges properly, and you’ll stop warm air from slipping straight into the loft.
Conclusion
A lot of people spend years living in a cold house, never quite sure why it feels that way. You don’t have to.
All the problems you’ve just read about are fixable, often cheaply and sometimes in under an hour. So, pick one area, grab your flashlight, and just start. You’ll be amazed at how much of this you can sort yourself with a tube of foam and a bit of focus.